Experience accumulated over 27 years in our machine plating department allows WMV to offer significant advantages in performing failure analysis and solving tribological and material issues; |
Our team approaches projects and tasks from a practical point of view and can work quickly as well as skilfully, for example, adapting or manufacturing custom-made testing devices. |
1- Tribo tester
(special atmosphere,
low temperature,
cryogenic or heated conditions)
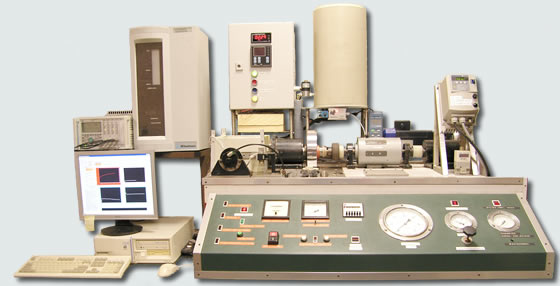
This highly advanced pin-on-ring tribo-tester is the result of an extended and rigorous development and testing regime. Nowadays sliding elements can be tested under very different conditions. The huge amount of combined sensor data offers vital information about the prevailing wear and friction mechanisms of the dynamic counter-parts. We can manipulate the following conditions:
- Motion (linear or sinusoidal)
- Speed
- Pressure
- Temperature: - 55°C - +260°C, electronically regulated within 2 °C
or constant -196°C with liquid nitrogen (cryogenic condition) - Liquid or atmospheric conditions (variable humidity, e.g. saturated or 'bone dry' conditions), 99%
Nitrogen / 99.99 % Argon / 99.9999% Hydrogen atmosphere or other atmospheres on request.
The following data can be recorded (c = continuous data logging):
- Pin displacement ( C , high accuracy real time wear registration)
- Final pin height change (accuracy +/- 1 µm / .04 mil)
- Friction ( C )
- Pin temperature 1 mm behind interface ( C )
- Force on Pin ( C )
- Test chamber temperature ( C )
- Oxygen level in test chamber
- Relative Humidity in test chamber ( C )
- Roughness change pin and ring
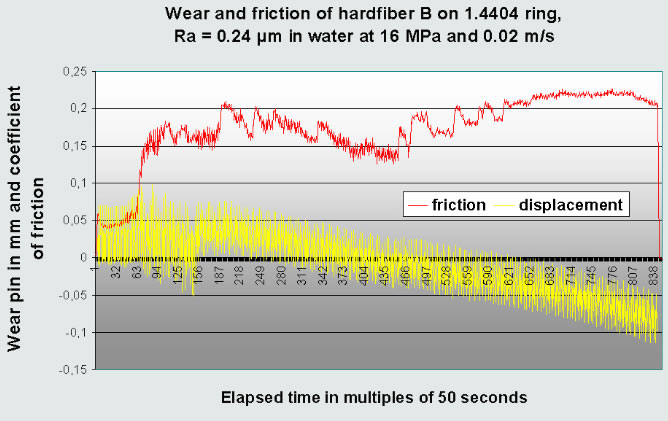
Example of tribo measurement dealing with lock door bearings. After 52 minutes a sudden raise
in friction is observed (failure of PTFE lubrication system) followed by wear increase 1.5 hours later.
The real time data recording supplies vital information about the material behavior during its service life (wear and friction can change a lot during running-in, or small changes in conditions can reveal the cause of high wear or friction). Wear particles can be collected and analyzed in our plasma optical emission spectrometer for quantitative and qualitative compositional analysis. Pin-and-ring surface changes can be examined in our SEM or on our tally surf surface profile plotter (accuracy .4 µm / 0.016 mil). Because of the very sensitive movement (light) sensor, this tribo-tester can also produce static and dynamic (temperature related) stress-strain data (Modulus of Elasticity) of the pin material. In particular, the possibility of establishing highly controllable cryogenic conditions is a unique extra feature of this tribo-tester.
2- Scanning Electron Microscope,
PMI Arc-Spark
OES and XRF analysis
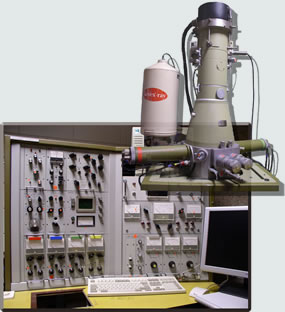
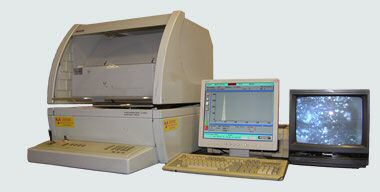
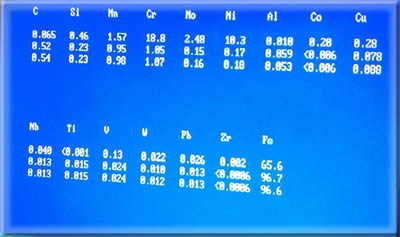
Our mobile Spectro Arc-Spark OES device is very well able to determine the elemental composition of unknown parts, including the determination of the elements Si and C ! |
See additional SEM pictures. By means of XRF analysis elements in surfaces can be determined by their typical X-ray patterns as well as the thickness of an (unknown) coating.
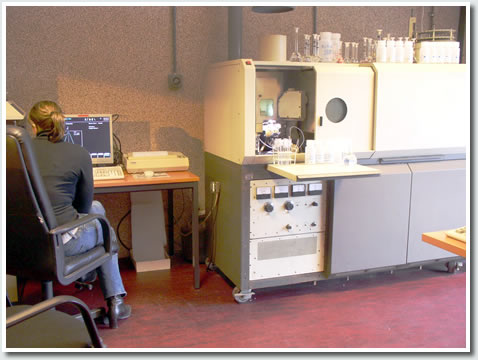
3- AES ICP plasma emission spectrometry
4- Tensile tester
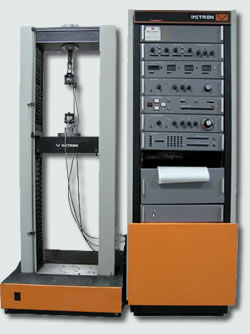
With the Instron tensile tester, we are developing a
new
generation of coatings with
improved ductility.
5- Surface energy tester
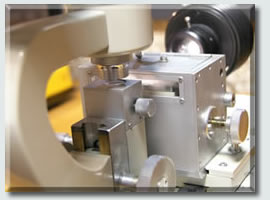
Contact-angle microscopes provide information about the material's disperse and polar surface energy (closely related to the non-stick effect). Lunac coatings are capable of reducing the surface energy significantly. Some extra measures can further optimize this non-stick effect. Non-stick optimization is very important for extrusion and plast molding machines as well as for food processing machine parts cleaning and release capability. Surface energy can also indicate the degree of surface pollution or organic impregnation.
Other testing possibilities
- Elco non-magnetic coating thickness on ferro substrate testing. Eddy current coating thickness testing
to obtain coating thickness of magnetic coatings on ferro and non-ferro substrates (such as nickel on steel). - Arc spark direct element analysis (capable of determining carbon as well)
- HPLC chromatography for various chemical bond analysis
- Micro Vickers hardness tester for testing (thin, 25 µm
/
1 mil) coatings on substrates with limited hardness. - Various electronic hardness and roughness testers.
- Coating and substrate potential difference recording.


